SUMMARY
Bucket Drumming – affordable and accessible! Increase your success with these four basics ideas for incorporating buckets into your classroom.
by Mark Shelton

Bucket Drumming – affordable and accessible! Increase your success with these four basics ideas for incorporating buckets into your classroom.
by Mark Shelton

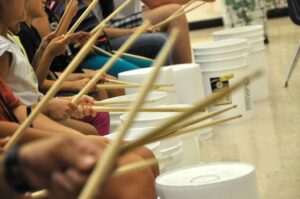
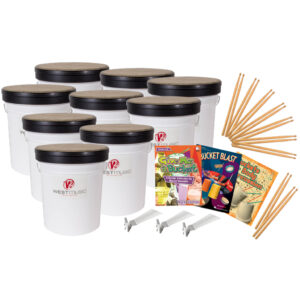
Bucket drumming has come to the elementary music classroom, with both teachers and students getting in on the fun of pounding a pail. Forming a bucket ensemble is easy on the budget while providing an excellent vehicle for learning rhythms and exploring tone colors.
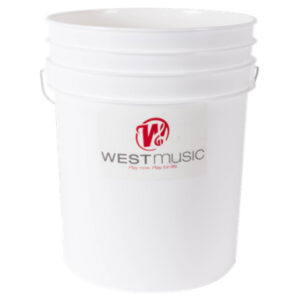
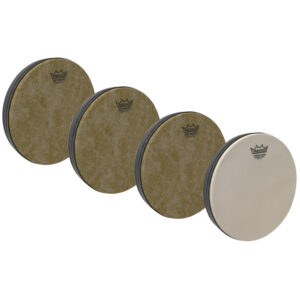
1. A five-gallon plastic pail is the go-to instrument for bucket music. When inverted with the opening facing down, the bottom surface becomes the drumhead, and the rim is ready for a crackling rim shot. Remove the handle to prevent rattling and to make stacking easier.
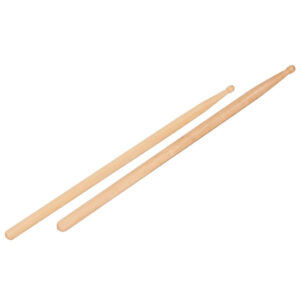
2. Drum sticks are the most common bucket drumming implement. Using the bead is possible; the butt of the stick will draw out lower frequencies. The shoulder of the stick works well for playing on the side of the bucket. Suitable stick sizes for buckets (and elementary-sized hands) are either 5A or 2B.
3. For most bucket drumming situations, raise the opening of the bucket slightly off the floor. This position allows for the low frequencies to sound. You can raise the opening using your foot or a block of foam rubber.

An alternate suspension method is to cut a pool noodle into 4″ pieces and make a length-wise slit that travels halfway through the diameter. Open the slit and mount the noodle onto the rim of the bucket opening. Three of these chunks will suspend the bucket from the floor.
4. Teach the basic tones: Head, Rim, and Side. Once your students can produce this trio of timbres, they will be ready to move on to playing simple grooves.
Four Basics for Buckets was originally published on July 8, 2021 as a Teacher Toolbox article.


Contributor
An active freelance musician and educational consultant, Mark Shelton has appeared as a featured artist at the North Carolina and West Texas Days of Percussion, the Percussive Arts Society International Convention, Pacific International Choral Festival, and state music educator conventions in…
Discover more from MarkHello (not ? Log out)
Skyler M. Shelton
May 20, 2024
Love drums, and how to support them, I’m getting a Sonor “REICHE” A re-craveing for sonor drums, Mark. Mesh heads and holy quiet cymbals of stainless steel are a reduced decibel blessing. I never had that in the 60’s. Thanks, keep in touch.